Introduction
Update: Updated the code samples according to the changes introduced in .NET 2.0.
Firebase is an application development framework and infrastructure provided by Google. It offers a handful of services, like Storage, Analytics, Notifications and Hosting, mainly targeted to mobile application developers.
At first I was a bit confused by Firebase, since its functionality seems to overlap with Google’s generic cloud environment, the Google Cloud Platform, which has—among many other things—similar features.
There are questions about the relation between them in many forums, so I’m not the only one who was puzzled by this.
It seems that Google simply tries to differentiate between two separate offerings, where Google Cloud Platform (GCP) is the core infrastructure, providing many different lower level building blocks.
On the other hand, Firebase (which is mostly built on top of GCP under the hood) is a simpler framework offering fewer, higher level services.
To me it makes sense to build a higher level, easier to understand framework on top of GCP, since the number of different services offered in the Cloud Platform can be somewhat overwhelming, if all we want is a couple of simple api endpoints for our mobile application.
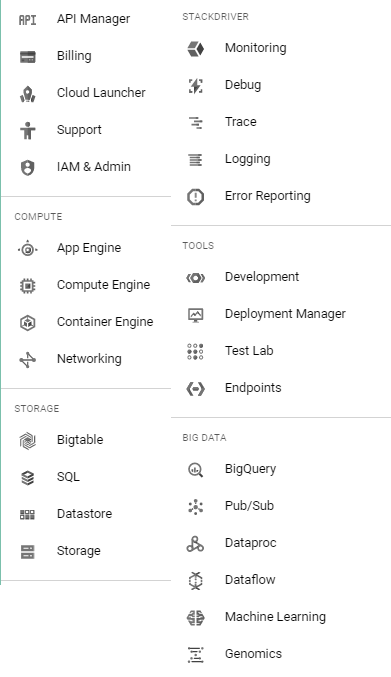
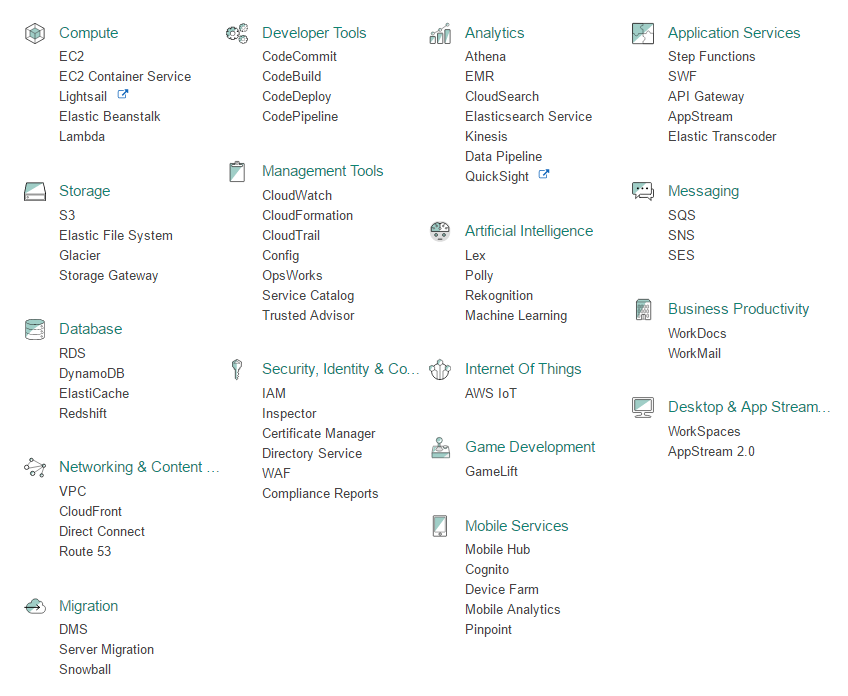
And of course it’s not only the Google cloud which has this sort of “feature creep”—Azure and Amazon AWS have the same problem. I find the the service overview page of AWS the scariest :).
Authentication
The only Firebase service I’m going to focus on in this post is Authentication. It supports multiple authentication providers, you can use a custom email/password combination, you can hook in your own user store, or you can use third-party providers, like Google, Facebook or Twitter accounts. Then, in your application you can handle authentication with all these providers in a unified way.
In this post what I’m going to describe is not how to implement the sign-in part, that’s well documented on the Firebase site, it has official SDK support for Android, iOS and web applications.
The scenario I’ll write about is when you want to secure your ASP.NET Core api to be only accessed by already logged in users. A typical scenario is a single-page web application, or a mobile app, in which the sign-in is already implemented with Firebase, so the application already received a JWT access token (called the ID token). This token can be verified in our service by a standard JWT library, which is luckily already available in ASP.NET Core.
Configuring ASP.NET
We can use the package Microsoft.AspNetCore.Authentication.JwtBearer to secure our api with Firebase. This package includes a middleware for automatically verifying JWT tokens coming in the Authorization header from the client on every request.
I couldn’t find any documentation about using this specifically with Firebase. Most of the blog posts about setting up this middleware were targeted for the scenario in which our api knows the symmetric key used by the authentication provider, and gets it from some form of secure configuration parameter.
In my case the scenario was different. I didn’t want to create a new token, I just wanted to verify an existing token issued by Firebase.
In order just to verify an id token, we only have to know the public part of the asymmetric key being used to sign the token. And since the public key is not a secret, we won’t need secure configuration, the key is published through a public endpoint of our Firebase service.
Since the JwtBearer middleware supports a wide range of options to be set, it took some experimenting before I managed to find the set of options that work with the tokens issued by Firebase.
Set up the middleware
In order to verify the token in the Authorization header on every request, we need to add some code to our Startup class to wire up the authentication middleware.
The way to do this changed with the 2.0 version of ASP.NET Core, in the following sections we’ll see an example of the setup for both versions.
.NET 2.0
In our ConfigureServices method we need to register the services necessary to handle authentication, and to specify the parameters of our Firebase project.
services
    .AddAuthentication(JwtBearerDefaults.AuthenticationScheme)
    .AddJwtBearer(options =>
    {
        options.Authority = "https://securetoken.google.com/my-firebase-project";
        options.TokenValidationParameters = new TokenValidationParameters
        {
            ValidateIssuer = true,
            ValidIssuer = "https://securetoken.google.com/my-firebase-project",
            ValidateAudience = true,
            ValidAudience = "my-firebase-project",
            ValidateLifetime = true
        };
    });
Then in our Configure method we have to do one simple call to register the actual middleware that will handle the authentication.
app.UseAuthentication();
.NET 1.X
In .NET 1.X the whole setup happens in the Configure method, we have to call the UseJwtBearerAuthentication extension method to wire up the middleware, and pass in the parameters of our Firebase project.
app.UseJwtBearerAuthentication(new JwtBearerOptions
{
    AutomaticAuthenticate = true,
    Authority = "https://securetoken.google.com/my-firebase-project",
    TokenValidationParameters = new TokenValidationParameters
    {
        ValidateIssuer = true,
        ValidIssuer = "https://securetoken.google.com/my-firebase-project",
        ValidateAudience = true,
        ValidAudience = "my-firebase-project",
        ValidateLifetime = true
    }
});
What does it do?
In the code samples, my-firebase-project is your project ID in Firebase.
The middleware is going to verify the Authorization header on every request, check if it is signed with the correct private key, and verify if it contains the specified issuer and audience, so that it was issued specifically by our Firebase project. (The Firebase documentation also describes what has to be done if we would want to implement this verification ourselves.)
If the verification is successful, it is going to store the user information together with all its claims in HttpContext.User, and HttpContext.User.Identity.IsAuthenticated will be true.
How to proceed after this is up to you: you can either use the built-in Authorize header on your controllers. If you put [Authorize] on top of a controller or an action, ASP.NET will return a 401 response if the request doesn’t have a valid token in the Authorization header.
Or you can implement your own code that does some custom verification based on HttpContext.User.
Gotcha
As Valeriy points out in the comments, you have to make sure to add the Jwt authentication middleware to the pipeline earlier than the MVC routing pipeline, so have the line app.UseAuthentication (or app.UseJwtBearerAuthentication(...) in case of .NET 1.X) before app.UseMvc(). Or if you use any kind of other middleware which does authorization based on HttpContext.User, that has to come in the pipeline after the authentication middleware.
This is important because what the authentication middleware does is that it checks the value of the Authorization header, and based on that it populates HttpContext.User. And that’s what the Authorize filter is using, so populating this data has to happen before the Mvc routing middleware executes, otherwise the authorization will always fail.
Update: How does token signing work?
There was some interesting discussion in the comments and in this SO question, so I added this section to clarify how the token signing works.
The following diagram illustrates the (simplified) architecture and flow of using Firebase for authentication from an ASP.NET application.
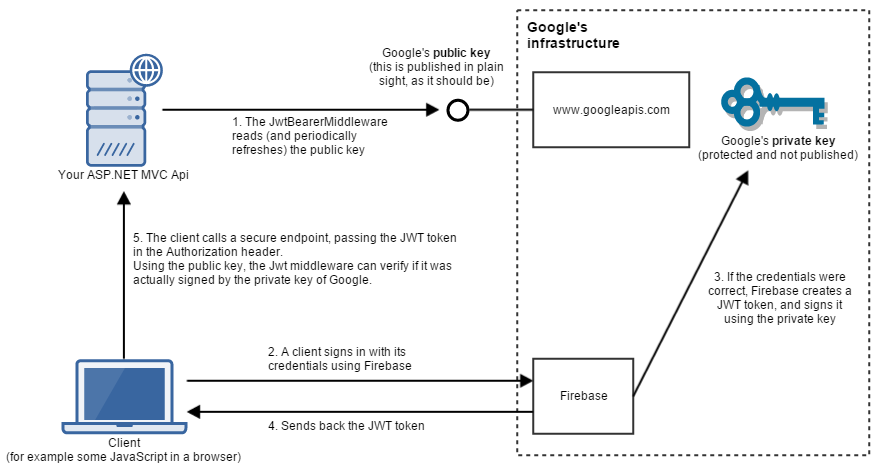
During signing in and accessing a secure endpoint, the following steps are involved.
- When our application starts up (and then later also periodically) the
JwtBearerMiddlewarecallshttps://securetoken.google.com/my-firebase-project/.well-known/openid-configuration(you can see more details in the Source code). From there, it navigates tohttps://www.googleapis.com/service_accounts/v1/jwk/[email protected], where the current public keys of Google are accessible. It’s important that when we’re using a public key asymmetric cryptosystem, the public key is not kept as a secret, but it is published in plain sight. That’s what all the clients will be able to use to verify if something was signed by the private key (which is really a secret, and only the owner can have access to it). - A client signs in using their credential through Firebase. Firebase supports a variety of identity providers, it doesn’t matter which one the user is using (Facebook, Google, Twitter, etc.).
- If the signin was successful, then Firebase constructs a JWT token for the client. A crucial part of this token is that it’s signed using the private key of the key pair. In contrast to the public key, the private key is never exposed publicly, it is kept as a secret inside Google’s infrastructure. If a private key gets compromised, that means that any attacker having access to it is able to create valid JWT tokens.
- The client receives the JWT token.
- The client calls a secure endpoint on our Api, and puts the token in the
Authorizationheader. At this point theJwtBearerMiddlewarein the pipeline checks this token, and verifies if it’s valid (if it was signed with Google’s private key). The important thing to realize here is that in order to do the verification, our Api does not need to have access to the private key. Only the public key is necessary to do that. After verification, the middleware populatesHttpContext.User, andHttpContext.User.Identity.IsAuthenticatedaccordingly.
You can find an even simpler description of this concept on the RSA Wikipedia page.